
Essential Tools and Equipment for Motorcycle Repair
Embarking on DIY motorcycle repair requires a comprehensive set of tools and equipment to ensure efficiency and safety. A well-rounded toolkit starts with basic hand tools such as wrenches, screwdrivers, and pliers. These are indispensable for tasks ranging from tightening bolts to removing small components. Specifically, a set of combination wrenches, both metric and standard, will cover most of your needs. Screwdrivers in various sizes and types (Phillips and flathead) are crucial for handling different screw heads, while a reliable set of pliers, including needle-nose and locking pliers, will aid in gripping and manipulating parts.
Advanced tools are equally important for more intricate repairs. A torque wrench is essential for applying the correct amount of force to bolts and nuts, preventing over-tightening or under-tightening. Multimeters are invaluable for diagnosing electrical issues by measuring voltage, current, and resistance. Specialty tools specific to motorcycle maintenance, such as chain breakers, tire levers, and valve spring compressors, can save time and prevent damage to your bike during complex repairs.
Equally crucial is the organization of your workspace. A clutter-free, well-lit area enhances productivity and reduces the risk of losing small parts or tools. Pegboards, tool chests, and magnetic trays can keep your tools organized and easily accessible. Safety gear like gloves and goggles should never be overlooked, as they protect against injuries and exposure to harmful substances.
Investing in a good motorcycle lift or stand can significantly ease the repair process by elevating the bike to a comfortable working height, allowing for better access to various components. This not only improves ergonomics but also enhances safety by providing a stable platform for your motorcycle.
When it comes to purchasing these tools, consider reputable stores, both online and physical, that specialize in motorcycle equipment. Brands known for their durability and performance often come with warranties, ensuring you get value for your investment. Maintaining your tools by cleaning them after use, storing them in a dry place, and periodically inspecting them for wear and tear will extend their lifespan, ensuring they remain reliable for years to come.
Step-by-Step Guide to Common Motorcycle Repairs
Performing basic motorcycle repairs at home can save both time and money, as well as provide a sense of accomplishment. Below is a detailed guide to some common motorcycle repairs, including changing the oil, replacing the air filter, adjusting the chain, and checking and replacing brake pads. It is essential to follow your motorcycle’s service manual for specific instructions and safety precautions.
Changing the Oil
First, ensure your motorcycle is on a stable, level surface. Warm up the engine for a few minutes to allow the oil to flow more freely. Place an oil pan under the drain plug, remove the plug, and let the old oil drain completely. Replace the drain plug gasket if necessary before reinstalling the plug. Remove the oil filter and replace it with a new one, ensuring it is properly seated and tightened. Refill the engine with the recommended type and amount of oil, then start the engine to check for leaks.
Replacing the Air Filter
Locate the air filter housing, which is typically under the seat or fuel tank. Remove the cover and take out the old air filter. Clean the housing of any debris or dirt before installing the new filter. Ensure the new filter is properly seated and secure the cover back in place.
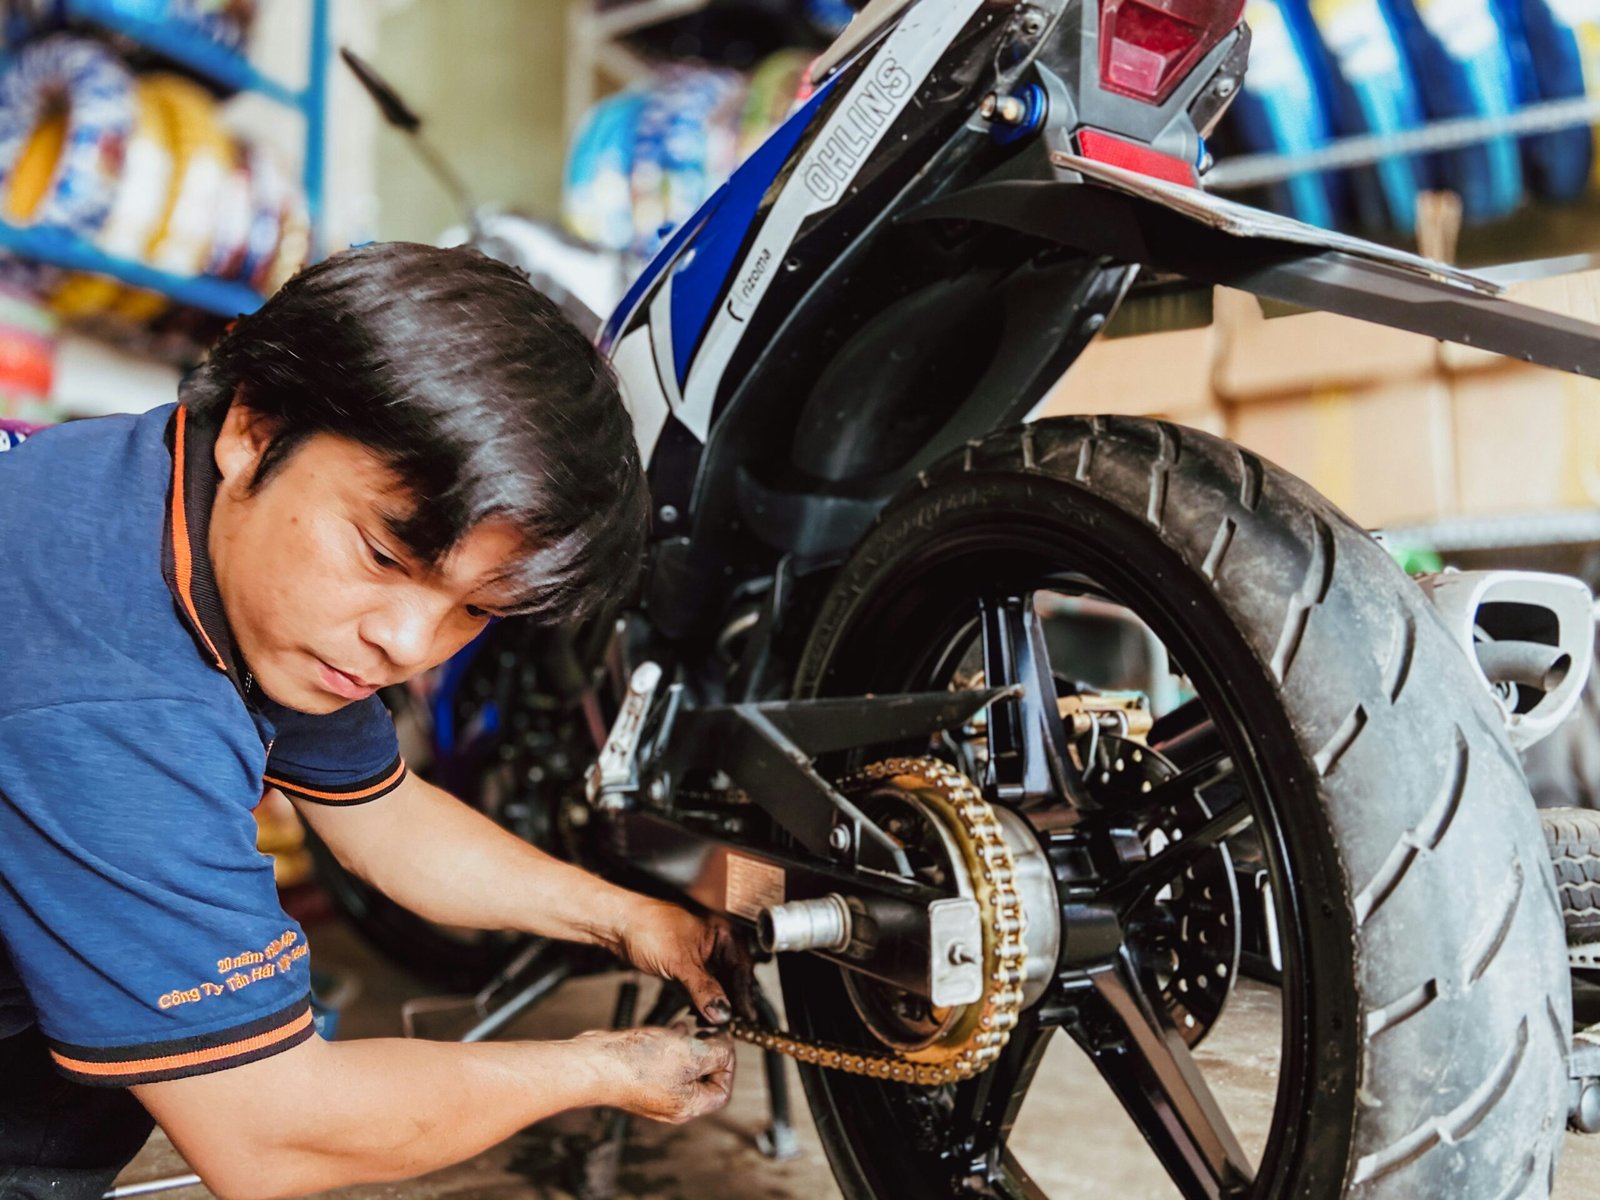
Adjusting the Chain
Place your motorcycle on a stand to lift the rear wheel. Check the chain tension by measuring the slack in the middle of the chain run. Loosen the axle nut and adjust the chain tensioners on either side of the swingarm until the correct tension is achieved. Ensure the wheel is aligned properly, then tighten the axle nut and recheck the tension.
Checking and Replacing Brake Pads
Inspect the brake pads for wear by looking through the caliper. If the pads are below the manufacturer’s recommended thickness, they need replacement. Remove the caliper by unscrewing the mounting bolts, then take out the old pads. Insert the new pads, ensuring they are correctly positioned, and reattach the caliper. Pump the brake lever a few times to ensure proper pad seating.
Throughout these procedures, safety is paramount. Always wear appropriate protective gear, work in a well-ventilated area, and be cautious of hot components. Regular maintenance and timely repairs can significantly prolong the lifespan of your motorcycle. If you encounter any complexities or uncertainties, it is advisable to seek professional assistance to avoid further damage or hazards.